
You spot the perfect wreath. It’s full, lush, and exactly what your space needs. But the moment you grab a nail… you hesitate.
Will it leave a hole? Chip the paint? Crack the wall?
Good news: you don’t need nails at all.
There are simple, renter-friendly ways to hang wreaths indoors without damaging your walls — and they look just as polished.
Let’s break it down step-by-step.
1. Why Avoid Nails and Screws?
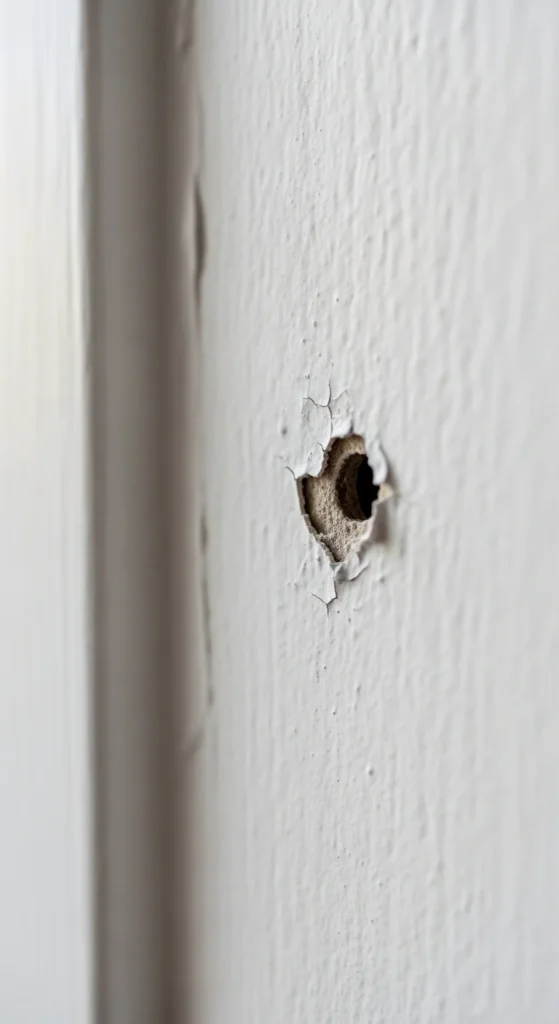
Nails may seem harmless, but over time they create visible holes, chipped paint, and small cracks in drywall.
If you rent, that means patching and repainting later. If you own, it still means extra work.
Damage-free methods allow you to:
- Switch décor seasonally
- Move wreaths around easily
- Keep walls clean and smooth
- Avoid repair costs
It’s about flexibility. And peace of mind.
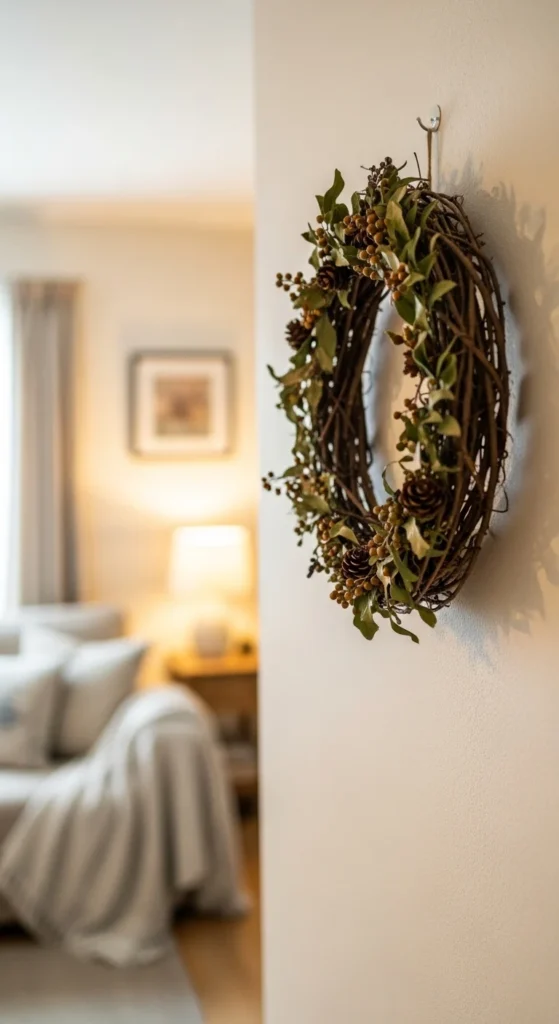
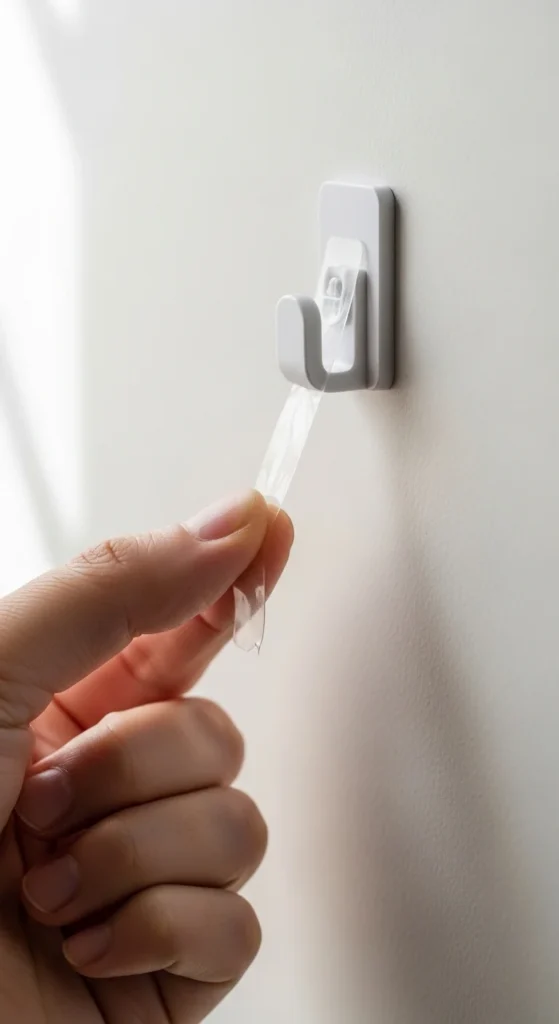
2. Use Removable Adhesive Hooks
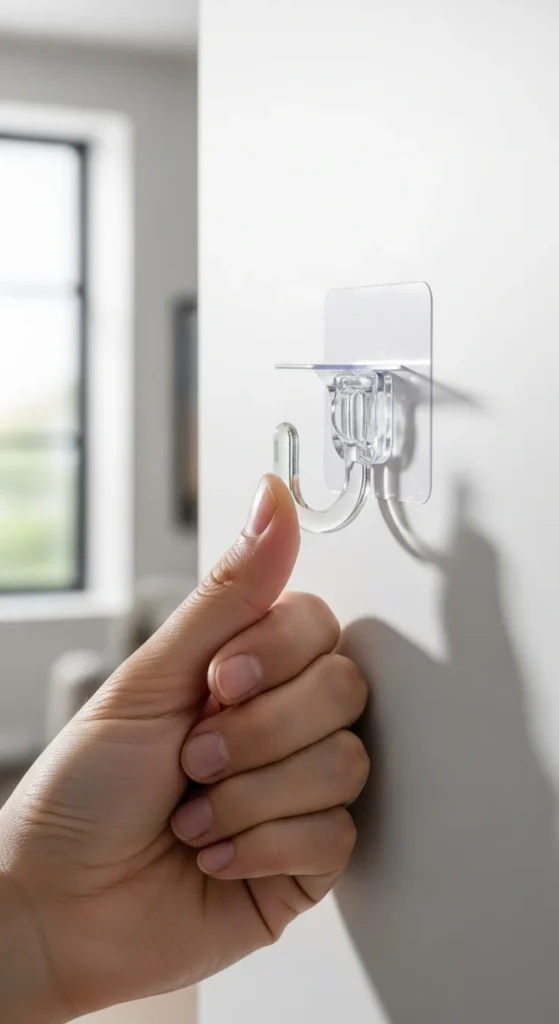
Removable adhesive hooks are one of the easiest solutions.
They’re strong, easy to install, and leave no residue when removed properly.
How to use them:
- Clean the wall with rubbing alcohol
- Let it dry completely
- Press the hook firmly for 30 seconds
- Wait at least 30–60 minutes before hanging
Pro tips:
- Choose a hook rated slightly higher than your wreath’s weight
- Clear hooks blend into light walls
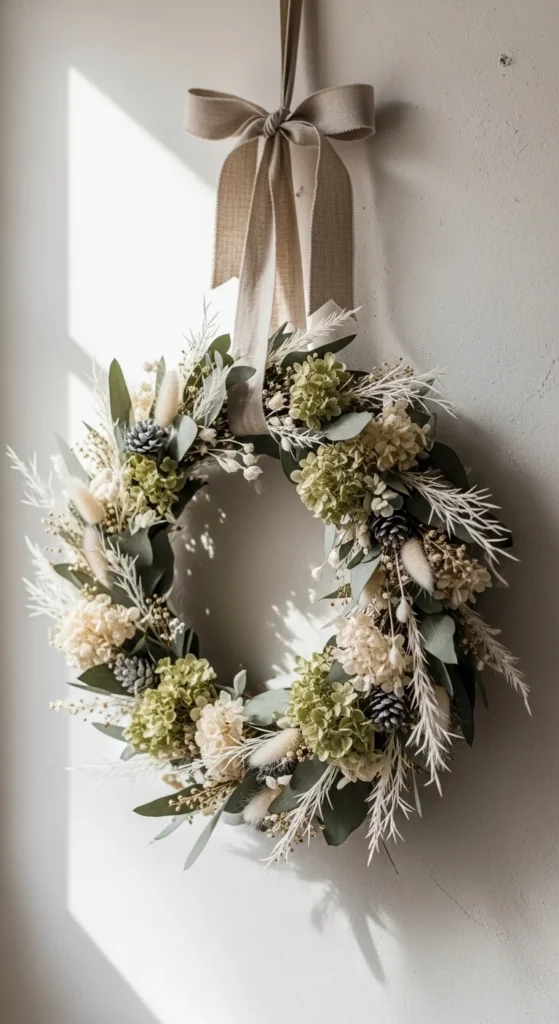
- Use ribbon or twine to hang the wreath from the hook for a softer look
This works beautifully on painted drywall, tile, and smooth wood.
3. Hang Wreaths with Heavy-Duty Adhesive Strips

If you don’t want a visible hook, adhesive strips can attach directly to the wreath frame.
This method is best for lightweight wreaths with flat backs.
Steps:
- Attach one side of the strip to the wreath frame
- Press the matching side firmly onto the wall
- Hold for 30 seconds
Best for:
- Minimalist spaces
- Smaller wreaths
- Smooth wall surfaces
Avoid textured walls. Adhesion won’t be as strong.
4. Try Over-the-Door Hooks
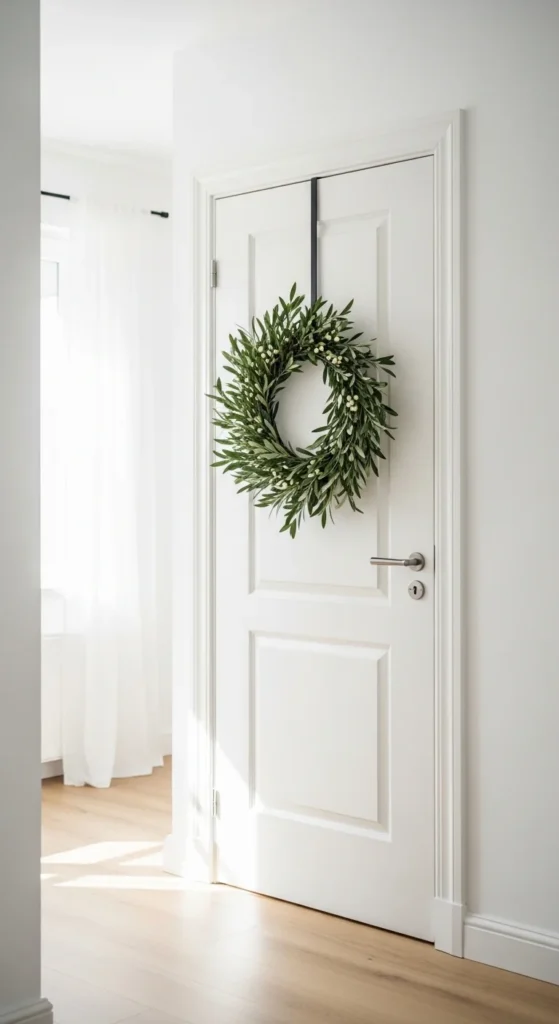
If you want zero wall contact, this is the easiest option.
Over-the-door hooks slide over the top edge of the door and support the wreath from above.
Where to use:
- Bedroom doors
- Closet doors
- Pantry doors
- Entry doors
Styling tip:
Add ribbon to lower the wreath to eye level. It creates a balanced, polished look.
This is especially great for heavier wreaths.
5. Use Ribbon for a Decorative Touch
Sometimes the hanging method becomes part of the décor.
Ribbon adds softness and character.
How to do it:
- Tie ribbon securely around the wreath frame
- Adjust the length for proper placement
- Hang it over a hook or door hanger
Why it works:
- Distributes weight evenly
- Adds a decorative detail
- Makes seasonal swaps easy
Choose ribbon colors that complement your space for a cohesive look.
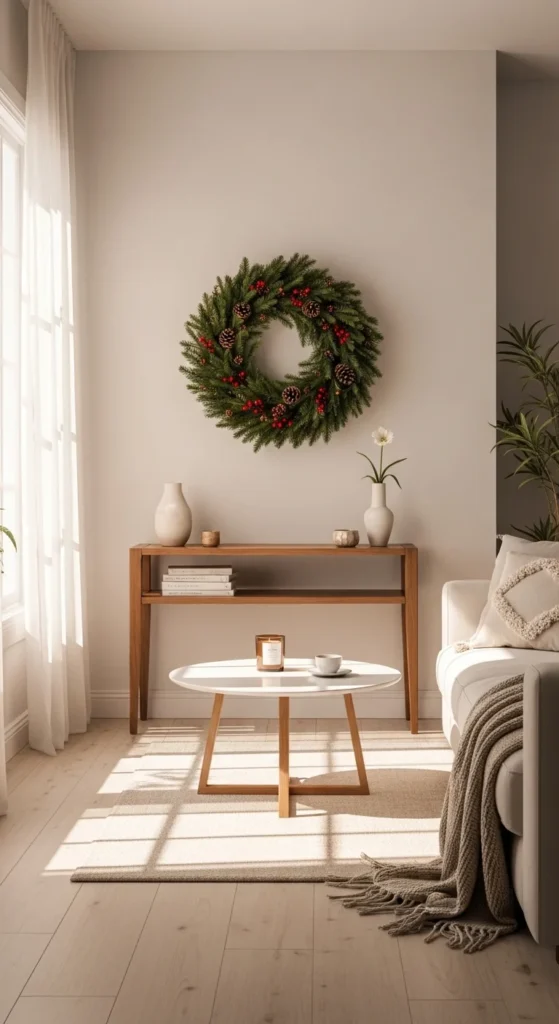
6. Pick the Right Placement First
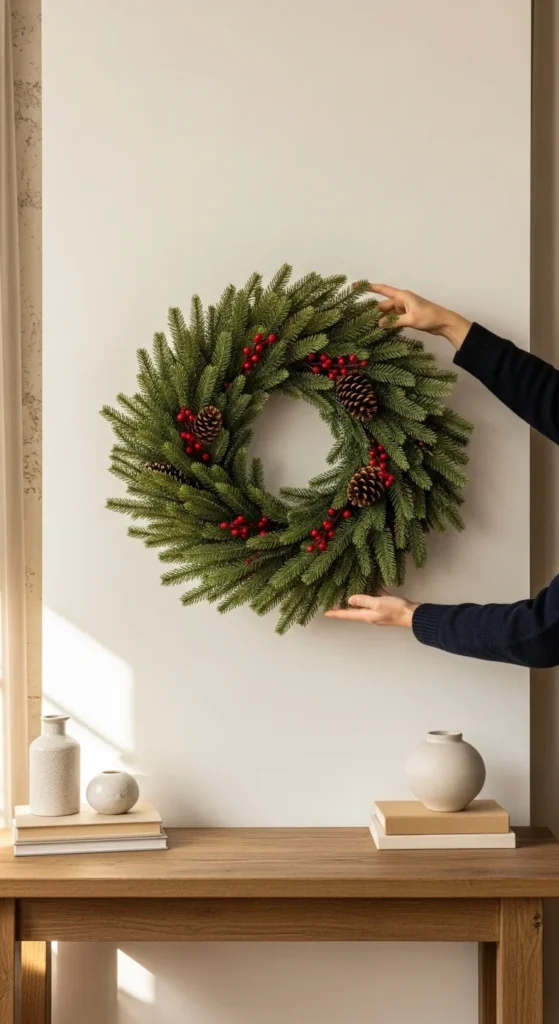
Before installing anything, hold the wreath up and step back.
Look at spacing.
Check alignment with nearby furniture.
Good placement ideas include:
- Above a mantel
- Centered over a console table
- On interior doors
- In hallway nooks
- Over a bed headboard
Testing first prevents unnecessary adjustments.
7. Understand Your Wall Surface
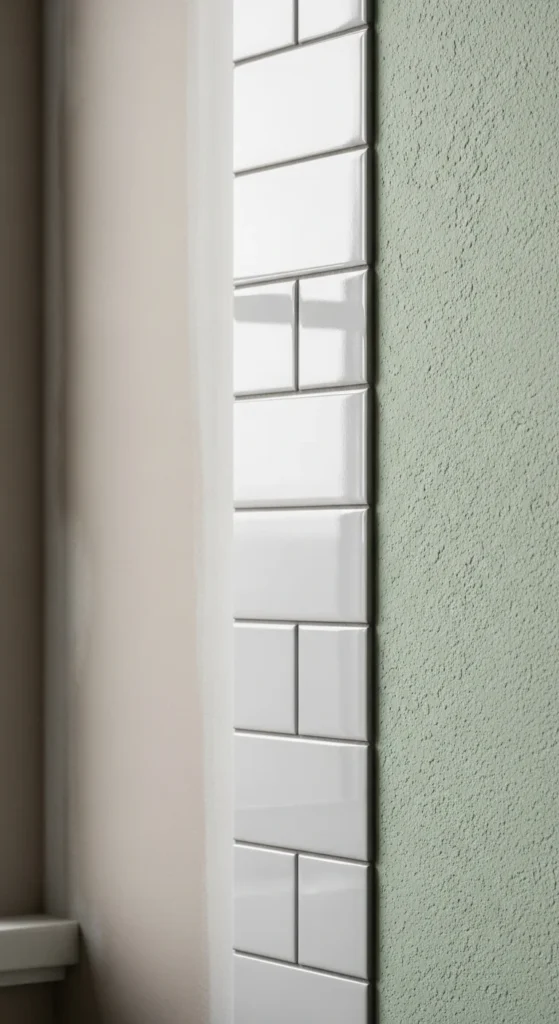
Not all surfaces behave the same way.
- Smooth drywall: Ideal for adhesive hooks
- Tile or glass: Excellent adhesion
- Brick or textured walls: May need alternative methods
- Wallpaper: Use caution
When unsure, test in a hidden area first.
8. Keep Your Wreath Secure Long-Term
To prevent falls:
- Clean surfaces thoroughly
- Let adhesive fully set
- Stay within weight limits
- Avoid high-humidity rooms
For heavier wreaths, consider using two small hooks spaced evenly for better balance.
9. Remove Everything the Right Way
When it’s time to change décor:
- Pull the adhesive tab straight down
- Move slowly
- Don’t yank outward
This keeps paint intact and prevents damage.
Final Thoughts
Decorating should feel fun — not stressful.
With removable hooks, adhesive strips, door hangers, and ribbon styling, you can hang wreaths indoors without damaging your walls.
No holes. No patching. No repainting.
Now you can decorate for every season with confidence.
Save this guide for later — and start hanging your wreaths the damage-free way! 🌿

Leave a Reply